Faux slatted/pallet tissue box Designed by Tanvi Shah

Hello everyone,
Tanvi here

Hope you all are having a wonderful crafty time.

For my post today I am sharing a decoupage tissue box in which I have created a slatted/pallet look with the latest Decoupage Specialty release by Bob n Betty “Imperial”

O50

These are the supplies from Bob N Betty we need for the project – chipboards, decoupage papers & leather paper.

O51

Measure the sides of the tissue box. Trim the chipboard & decoupage papers 1 1/2″ wide.

O54

The tissue box was painted with black acrylic paint. For the top I have used leather paper to coordinate my choice of red & black decoupage papers.  Decoupage the paper on all the chipboard pieces with mod podge.  Glue them on the sides of the box with mod podge. Remember to use a thick layer of mod podge since these are chipboard pieces. Once you cover all the sides seal the pieces with mod podge & varnish.

Here are some more close ups –

O55

Love the beautiful slatted/pallet look on the box & the classic leather top! Do you?

O56

O57

Papers used here : 


Thank you for stopping by today!

Happy crafting.

“Bloom with Grace” layout designed by Aleksandra Mihelic, using Cottage Blush

Hi dear crafty friends,

I’m so excited to share with you my first post as DT for Bob n Betty. I fell in love at first sight with gorgeous new paper collection Cottage Blush. First I wanted to make an off the page project but this gorgeous soft collection was just screaming for a delicate layout, so I decided this would be a perfect first project. I chose a photo I had my eyes on for some time now. It’s a gorgeous photo of a little flower girl with a beautiful white horse. Perfect for these soft papers. I used lots of chipboard pieces, laces and delicate flowers to go with it, to make the layout even more soft.

mixed-media-art-layout-delicate-lace-fabric-girl-horse-blossoms-beauty-grace-1cw

mixed-media-art-layout-delicate-lace-fabric-girl-horse-blossoms-beauty-grace-2w

mixed-media-art-layout-delicate-lace-fabric-girl-horse-blossoms-beauty-grace-3w

mixed-media-art-layout-delicate-lace-fabric-girl-horse-blossoms-beauty-grace-4w

mixed-media-art-layout-delicate-lace-fabric-girl-horse-blossoms-beauty-grace-5w

mixed-media-art-layout-delicate-lace-fabric-girl-horse-blossoms-beauty-grace-7w

mixed-media-art-layout-delicate-lace-fabric-girl-horse-blossoms-beauty-grace-8w

mixed-media-art-layout-delicate-lace-fabric-girl-horse-blossoms-beauty-grace-9w

mixed-media-art-layout-delicate-lace-fabric-girl-horse-blossoms-beauty-grace-10w

mixed-media-art-layout-delicate-lace-fabric-girl-horse-blossoms-beauty-grace-11w

mixed-media-art-layout-delicate-lace-fabric-girl-horse-blossoms-beauty-grace-12w

Hope you’ll like my project. 🙂 Have a gorgeous day and see you soon!

Hugs, Aleksandra

A Mixed Media Frame using Cottage Blush Collection by Riddhi Jani

Hello everyone,
Welcome to Bob n Betty blog.
Riddhi here with my new DT project.
This time I made flat surface Mixed Media project, and I have a video tutorial too.
Here is the glimpse of the project ..
The image I used for the project is really one of my favourite. It’s a beautiful picture of “lord Shiva”. Have a look…

 Enjoy the tutorial

I hope you like it.

Love
Riddhi

Handmade Shadow Boxes using Cottage Blush Collection| By Sampada

Hello Everyone

Welcome to my blog post, I hope you are enjoying and getting inspiration from my fellow DT’s creative projects. Today I am here with another project made using Bob n Betty Cottage Blush Collection. This collection has beautiful papers having soft vintage pastel designs, and it is perfect for shabby chic projects as well.

So, today I made three shadow boxes using this collection…do you think I altered a ready made shadow box?

No!

I made it from these papers..Yes!! What if you want to make shadow boxes but you don’t have the wooden one available with you? You can make by yourself and trust me it’s really easy and quick to make… you can make any size depending upon your requirement. The one I made is 6×6 inches in size and for that I used 12×12 inch paper…

So first see what I made,

12 (1)119513

This collection has two die-cut sheets which has beautiful ephemeras and flower clusters that you can fussy cut and use as embellishments like i did in the below project.

416371819

I have a detailed video tutorial of how to make these shadow boxes from scratch, So stay tuned, we will get that to you on Tuesday.

I hope I am able to inspire you and don’t miss to grab this beautiful paper pack.

Thanks for stopping by!

Video tutorial will be uploaded on Bob n Betty Channel on Tuesday so till then take care..

Have a crafty weekend ahead!

Hugs!

Sampada


A Scrapbook Page Layout Designed with Cottage Blush, By Tanya Cloete

Hello Buddies,

Tanya here with a Scrapbook Page Layout using the STUNNING Cottage Blush Collection! Totally in love with these gorgeous papers and loving the soft vintage look.

I have mentioned some steps here for you to recreate this kinda layout…

  1. Use one of the sheets from the collection as your base.
  2. Mix some modeling paste with white paint and add to your page on the side using a stencil. I used a butterfly. I then added some glitter before leaving it to dry. Giving it a bit of a sparkle.
  3. Cut 3 strips using another sheet and adhere on the other side.
  4. Cut some shapes using various dies to form the layering on your page where photo will be placed. I have used the collection and some cardstock.
  5. Fussy cut some elements from the tag sheet in the collection to add with the flowers.
  6. Emboss the chipboard pieces (clock, chipboard frame and title) with embossing powders (Lindy’s Stamp Gang Purely White & Chateau Rose). These colours are optional.
  7. Arrange the rest of your embellishments (flowers, leaves, gauze and sequins) as per the picture or as you like.
  8. All done!

Hope you like this as much as I enjoyed making it!

Happy Papercrafting!
Tanya Cloete

A Lit Canvas designed with ‘Imperial’ by Jaanhvi Hinduja

Hello everyone!

Hope you all had a gala time celebrating the festivals! The festive pomp and fervour continues.. This time, I’ve got a sparkling inspiration from the latest range of decoupage papers by Bob n Betty – “Imperial” – a lit canvas!

The beautiful mandala pattern inspired me to create something which is festive, sparkling, decorative and useful as my DT project.

We need very basic supplies :

  1. 8″/10″ stretched canvas
  2. Mandala paper
  3. Glue
  4. Precision knife
  5. Battery operated led light string
  6. Card stock (black)
  7. Velcro

I started with pasting the pattern paper on the black card stock. We don’t need a very thick one, it’ll be difficult to cut precisely. I let the glue dry then began cutting the mandala design using precision knife. Its up to your imagination, which parts you cut. Remember not to cut the entire design so that it falls off. Use your fingers from behind and make the cut parts pop out. This is where the light will show through.

Next i pasted the ready cut design on the canvas. Painted the canvas edges. Finally, I took a 3 mtr led string (battery operated) and put it inside the backside of the canvas. Its up to you if you wish to put the batteries inside or outside. It’s easier to operate if it’s outside. I adhered a black cardstock on the backside using velcro (I’ve put the batteries inside). The velcro will allow me to remove the card stock and operate the lights. I coated the entire canvas with mod podge as I’d like the project to last even after Diwali :).

Pardon me as I was trying this and wasn’t sure of the results so didn’t click the pictures while making it.  However, I’ll be more than glad to help if any of you wish to try out and need more clarity on setting it up finally.

This is a great piece, which can be used as wall decor or floor rangoli. You can make it as sets of two, four, six, etc. and create your own unique decor.

Happy Crafting 🙂
Jaanhvi

Mixed Media Tags (Photo Tutorial) by Preeti Datta

Hi friends !!

Preeti Datta (aka Dutt Preety) here. How are you today? Hope you are having a great & blessed festival season. Here is wishing you and yours the very best from all of us at the Bob n Betty family 🙂

Today, I’ll be sharing 3 Mixed Media Tags. Bob N Betty’s Premium Textured Chipboard 1200 gsm was used for making these large sized tags. 1 sheet was cut into 3 rectangles of 9.5 by 4.5 inches. The chipboard is sturdy, textured on one side and white in color so it is a good option for mixed media work as it can withstand multiple media being applied to it without buckling.

The idea behind these tags was to show one way to use snippets of patterned paper & faux leather we inevitably collect as paper crafters. These are little bits and pieces left behind from larger projects and because they are from our much loved and pretty packs, it is difficult to throw them away. So incorporating these into tags for layers and added texture is one way of using these up. Die cutting them for making little embellishments is another way.  Let’s get started.

TAG 1: Sea Themed

sea tag 1

Slideshow: These are some close-up photos of the tag

This slideshow requires JavaScript.

Process:

Slideshow: Photo Tutorial

This slideshow requires JavaScript.

  1. Strips of faux leather were adhered to the tag and then for added texture and priming the surface, white gesso was applied. The lumps that are formed around the gesso bottle were also applied to the tag using a palette knife to add to the texture and bumpy look.
  2. Color was added using pigment powders and movement was created with sprays of water.
  3. Glass Glitter was added at some places with matte gel. Some glitter glue was also applied for a  sparkly look.
  4. Few sea related images and a sentiment were stamped and colored with zig markers and then fussy cut
  5. The images were attached to the tag with matte gel. Art stones and gauze were adhered for added texture.
  6. Glossy accents was applied on top of the image, few dew drops were added and some white splatter was created.
  7. In the end, some of the raised areas of the tag were dry brushed with white gesso to bring out the texture and the tag was distressed with black soot distress ink around the edges for a finished look.

TAG 2: LOVE THEMED

heart tag

These are some close-up photos of the tag

Process:

Slideshow: Photo Tutorial

This slideshow requires JavaScript.

1. Lava Red Inka Gold was applied with one’s finger, to some of the areas of the tag to bring out the natural texture on the surface
2. Some images were stamped onto the tag in random places using black archival ink (as it is a permanent ink and won’t run when watercoloring is done later on)
3. Color was added to the tag using zig markers and it was sprayed with water to get an organic look
4. Stenciling was done with a couple of stencils and archival ink using a blending tool and foam
5. A heart was die cut from faux leather and the texture in it was highlighted with red inka gold. This was adhered to the tag with some gauze underneath.
6. A fussy cut sentiment from the Bob n Betty “No One But You” Paper Pack was adhered to the heart.
7. Some doodling was done using a black marker and a few details were added with white acrylic paint.
8. Red stickles and sequins were attached to the tag for added sparkle. Also, white splatter was created to bring the piece together.
9. In the end, a braid was created with thin strips of faux leather and this was added to the tag.

TAG 3: BUTTERFLY

green tag

These are some close-up photos of the tag:

Process:

Slideshow: Photo Tutorial

This slideshow requires JavaScript.

  1. Snippets of patterned paper from the Bob n Betty “Amor Mio” Paper Pack and strips of faux leather were adhered to the tag using matte gel
  2. Thread was wrapped around the tag and then some white gesso was applied with a palette knife
  3. Modelling paste was applied to the tag through a leaf stencil
  4. Color was added using ink sprays and movement was created with sprays of water
  5. The title was fussy cut from the Bob n Betty “No One But You” paper pack and the butterfly embellishment was created by die cutting a snippet of faux leather and then applying some mint green inka gold on it to bring out the texture.
  6. In the end, the edges were darkened to bring definition and some white splatter was added.

That is all for today.

Please do share your gorgeous creations using Bob n Betty papers with us on our facebook group Bob n Betty Buddies. 

Remember you can always purchase all the beautiful Bob n Betty products from our wonderful Sale Buddies. 

Thanks for your precious time 🙂

Stay Blessed!

Preeti D. 

Preeti-Dutt


A Mixed Media Scrapbook by Riddhi Jani, Designed with Cottage Blush

Hello everyone,

This is Riddhi, and I’m a lil over excited to share my first Design team project of bob n Betty with all of you.
I have made a scrapbook using the awesome latest release “Cottage Blush” by Bob n Betty. No wonder, I too fell in love with this collection like everyone else. It’s soft and pastel backgrounds makes it apt for all the themes.

I have used modeling paste in the inside pages to give a little texture to the papers, but tried to keep it minimum, as the paper is so gorgeous and I didn’t want to hide the beauty of the papers.

I also used leather paper by Bob n Betty for the background of my album cover. Trust me this leather paper is going to be a boon for scrapbookers as it is perfect for binding and strengthens the scrapbook overall.

I applied some antique brilliance wax by Finnabair on the leather for some shiny effect.

hope you guys like this project, see you all soon with another project.

Thanks
Riddhi

A Decoupaged Wall Clock, by Jaanhvi Hinduja, Designed with Cottage Blush

A warm hello to everyone! 
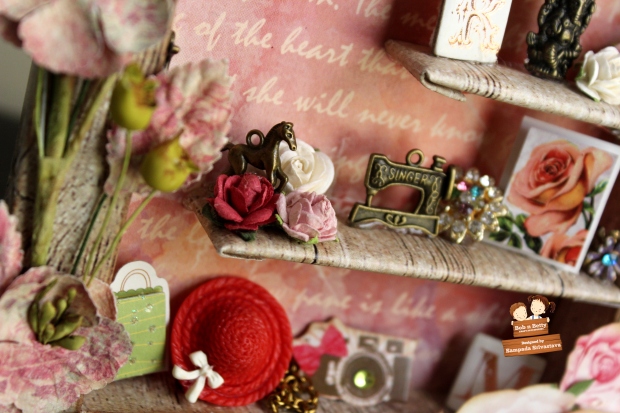
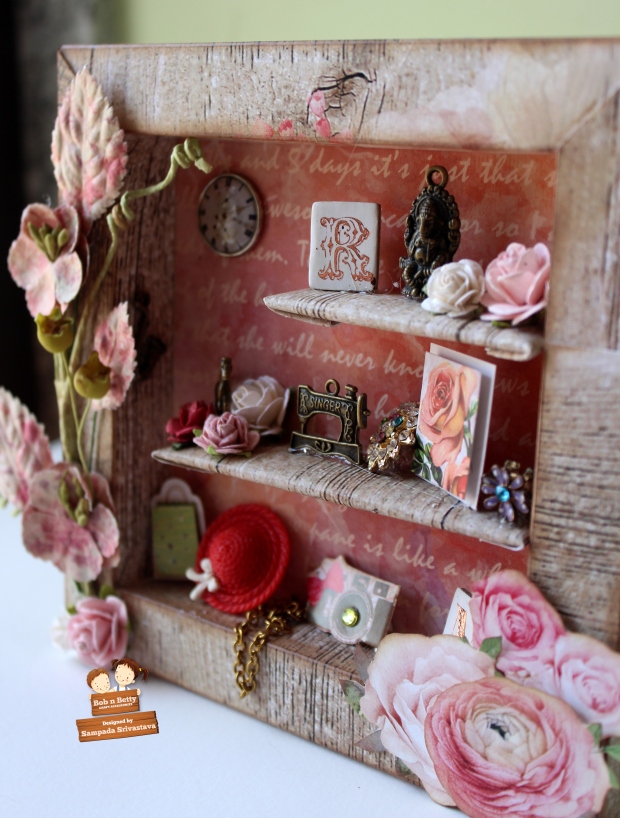
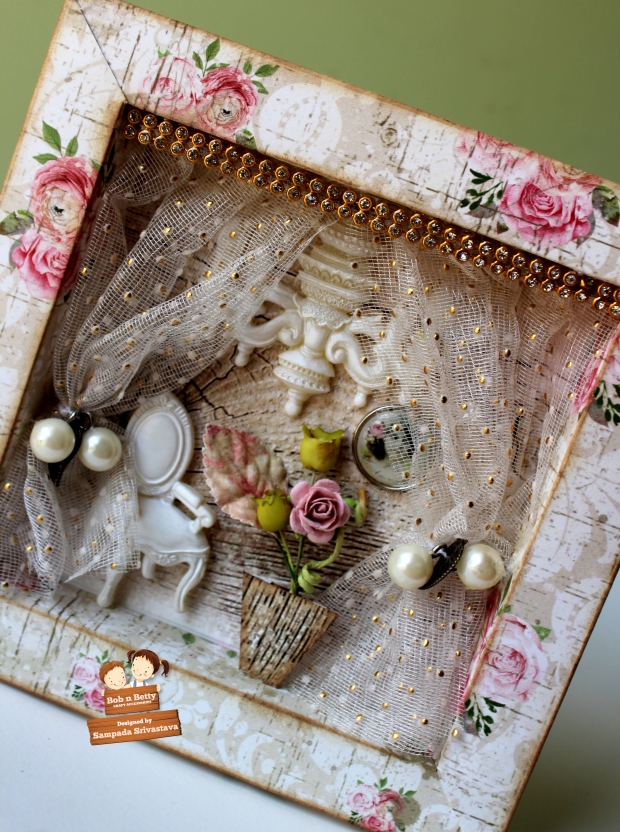
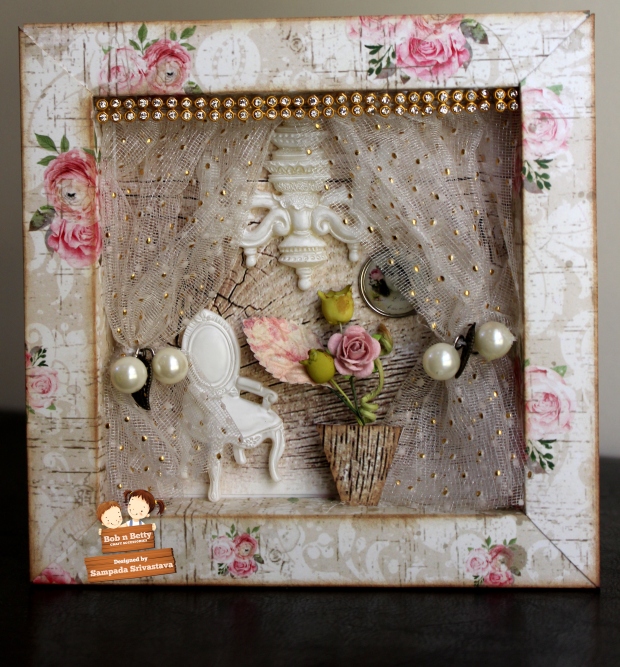
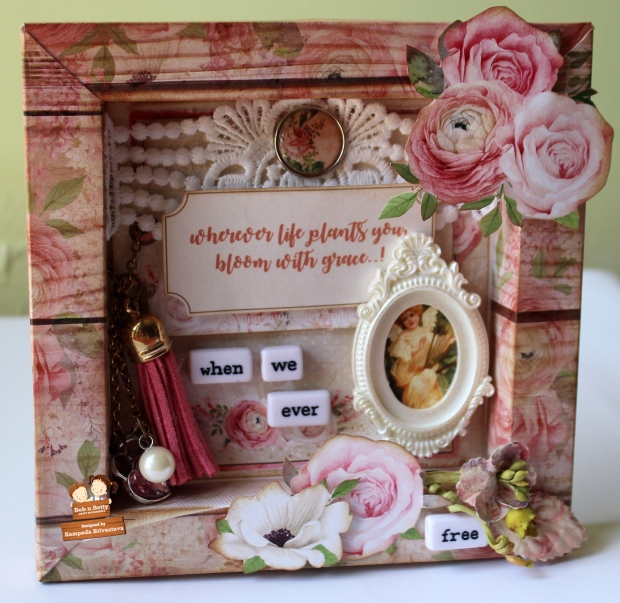
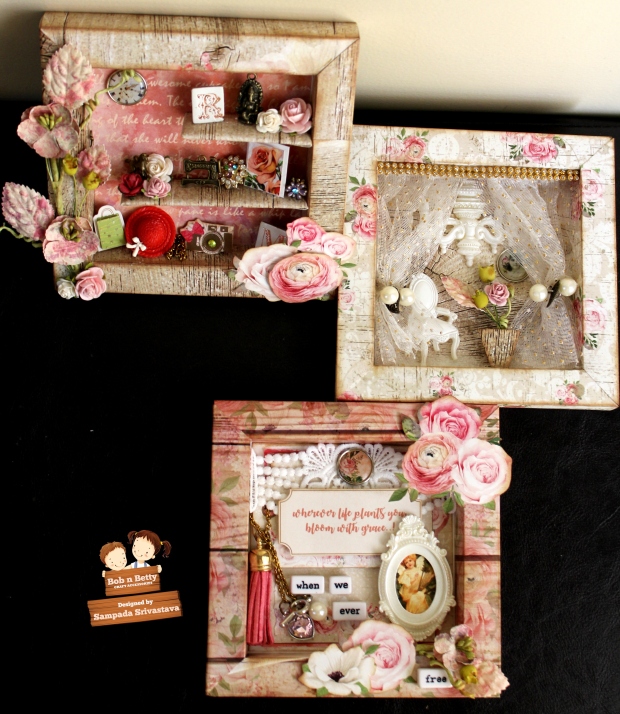
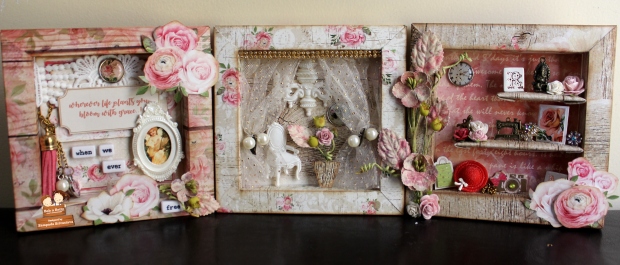
If you are someone like me who follows the trending decor styles, you’d probably know that farmhouse style has become one of the hottest home decor trends. But when you’re not actually a chic farm girl, cultivating some rustic-glam vibes isn’t easy. But Bob n Betty really makes everything achievable with their finest designs! The latest paper pack collection, “Cottage Blush” has beautiful cottage-like backgrounds with soothing blushing florals – which are just so perfect for a farmhouse style decor project.
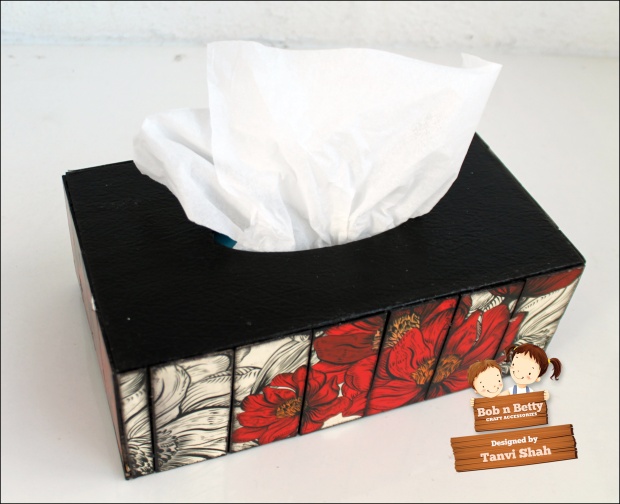
I’ve made a rustic pallet clock this time. Over to the process.
Materials required:
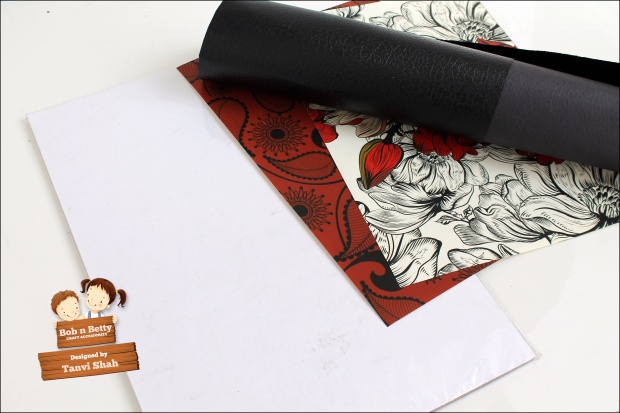
1. Bob n Betty Cottage Blush papers
2. Round Mdf base 5-6mm. Mine has a diameter of 30 cm. 
3. Chipboard – upto 1000 gsm
4. Glue, modpodge, varnish, paint, cutting tools, clock hands with mechanism
5. MDF Roman clock face
Process
1. Paint the edges of the mdf circle and the clock face with brown paint.
2. Cut a square chipboard  30 cm by 30 cm.
3. Find the centre of the square and divide each half into three equal sized stripes.
4. Place the mdf on the chipboard, trace the circle and then cut the circle. Don’t forget to pierce through the chipboard and mark the centre on the mdf circle. 
5. Now,  cut the marked strips from the chipboard. 
P. S.  It is easier to find the centre of a square and divide it in equal parts, therefore, I’ve done the markings on square chipboard first and then cut the circle. 
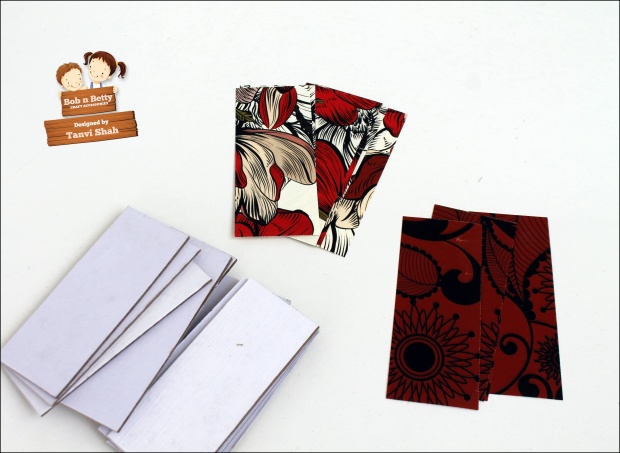
6. Choose the prints from the stack,  trace and cut for each of the chipboard pieces. 
7. Ink the paper edges brown to cover the whites. Glue the papers on the cut chipboard pieces. 
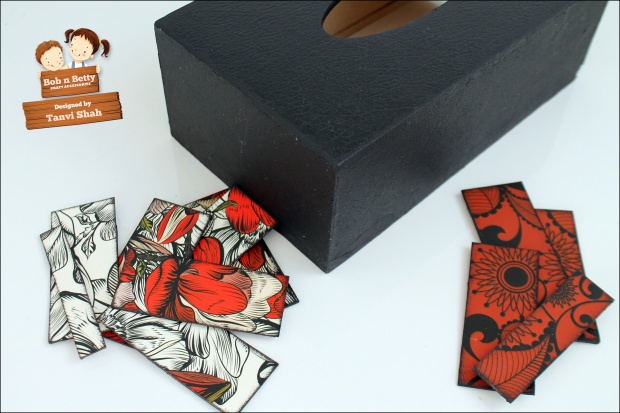
8. Apply mod podge on the ready chipboards. 
9. To add interest and give a rustic look to the pallets, dab some brown paint on the edges using your finger. This step is done after applying modpodge, as the coated base gives you a chance to wipe-off the paint and make corrections to get the desired look. 
10. Arrange the clipboard pieces on the mdf base  and stick one by one. 
11. Coat it with varnish. 
12. Fussy cut the flowers from the stack, ink the edges, apply modpodge on the flowers, crush the edges to give it a dimension. P. S.  – The flowers won’t tear if they are crushed after applying mod podge. 
13. Apply some metallic wax on the clock face to make it look like tarnished metal face. 
14. Drill a 10mm hole on the marked centre of the clock. Tip, i stuck the chipboards on the side opposite to the one where centre was marked.  Then reversed the clock and drilled the hole. 
15. Stick the clock face,  arrange and stick the flowers and finally fix the clock mechanism and the hook behind. 
So, don’t you think there is a comforting beauty about a home adorned with these do-it-yourself projects that are fun and functional. If yes, do give it a try!
Love
Jaanhvi

An Altered Hoop by Niharika Gupta, designed with Cottage Blush

Hi Friends,

I am back with an inspiration for you all…

Since a very long time, i wanted to create something for myself.. and this new paper pack by Bob n Betty, oh god… i am sure i can never have enough of this in my collection… it is the perfect paper pack , we have ever had. Perfect combination of colors, textures, beautiful flowers… everything is just so pretty and amazing about it… I am very sure you all will love it, and love it more…!

The dreams that i have for my work, the passion that i have for creativeness, has always kept me going… I dream big and then I dream bigger… ! And while creating this Mixed media Embroidery hoop, i had all this in mind..   Now let me take you to some closeup pictures….

This is a 10″ hoop. I have used one paper on the back, and few more papers, to fussy cut the flowers. The element sheet in the pack  gives you enough options for tags, flowers and sentiments… I just loved them all…  I have used few products from Prima marketing like wooden embellishments, flowers, color bloom sprays and other art mediums for this frame. 

I hope you all like it and find it inspiring 🙂 See you soon with another inspiring post 🙂 Lots of love and best wishes ….

Niharika.