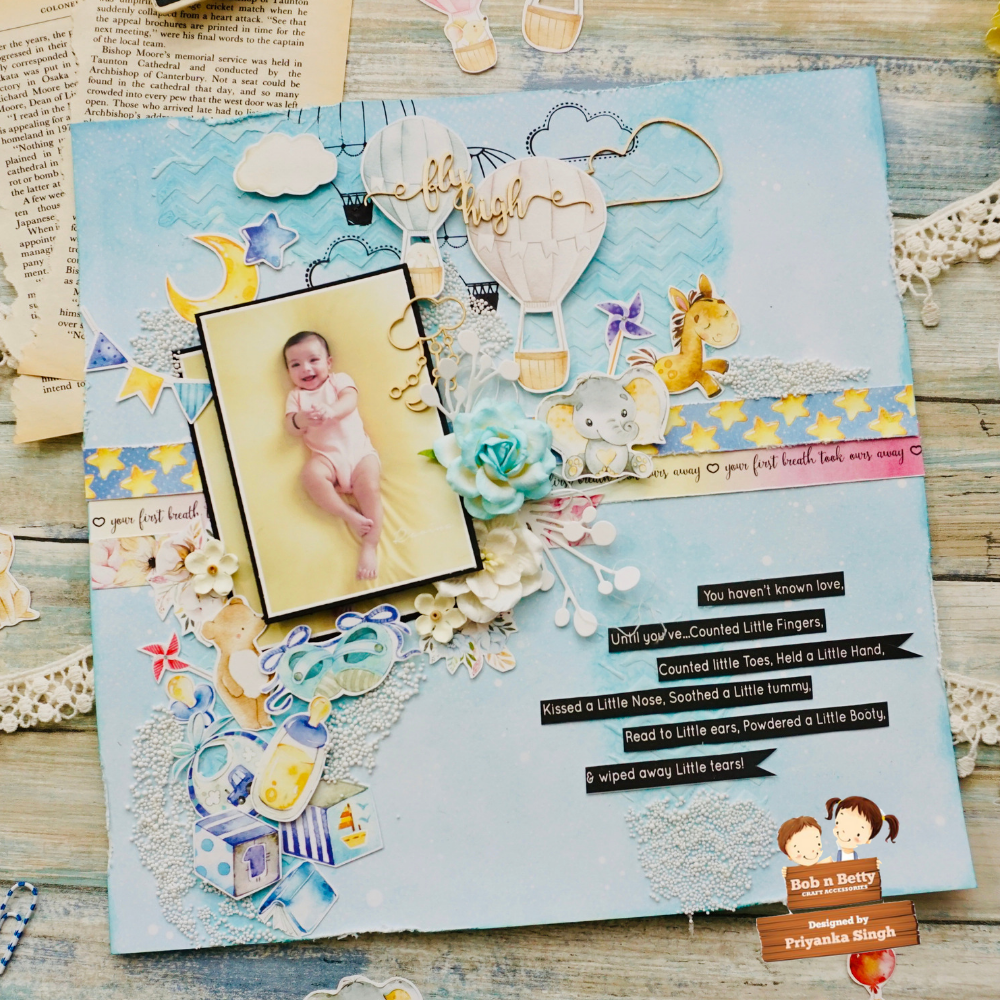
There is nothing quite as exciting as waiting for the arrival of a new born baby. As soon as the baby is arrives, once world is filled with happiness and love and a truly undefined motherly feeling…which can not be expressed in as many words one try….
Kuddos to all my crafty friends,
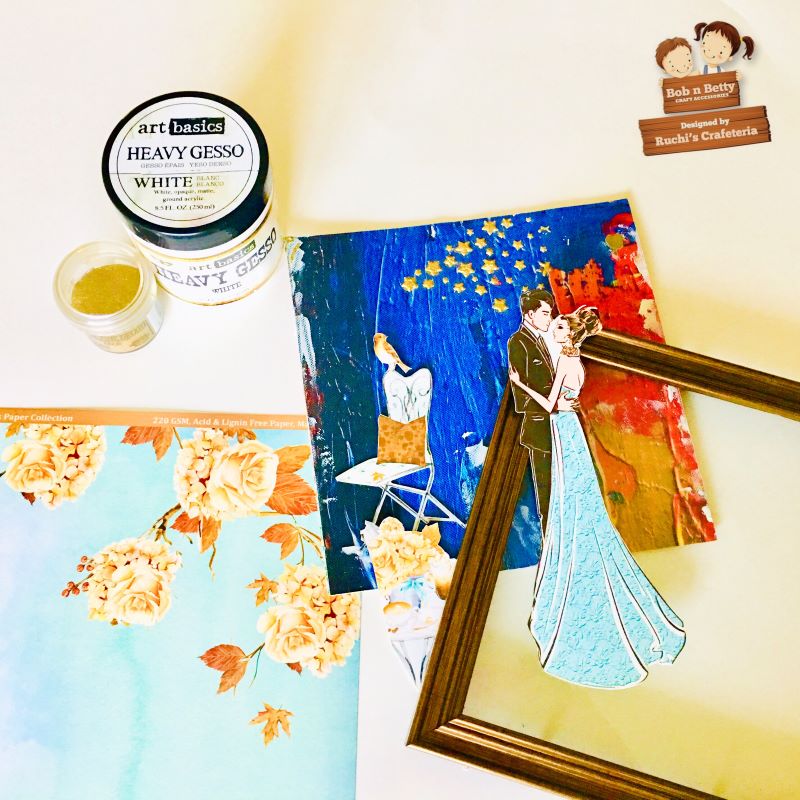
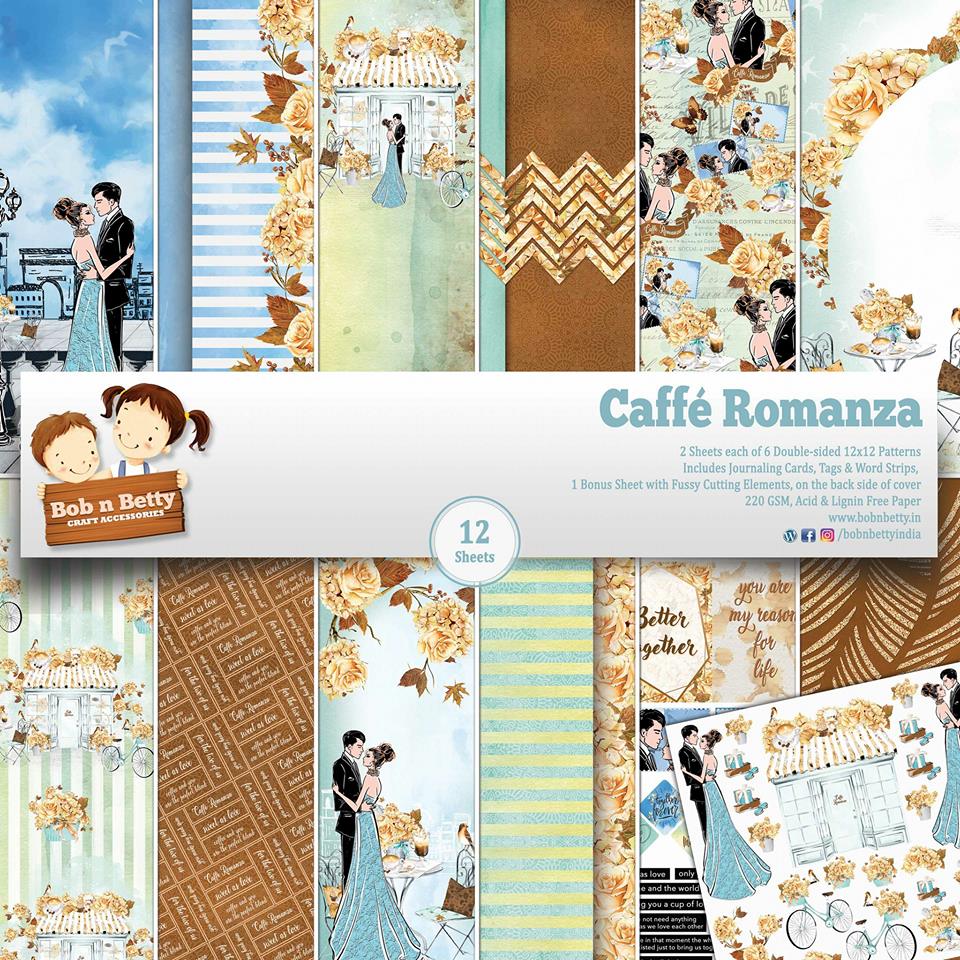
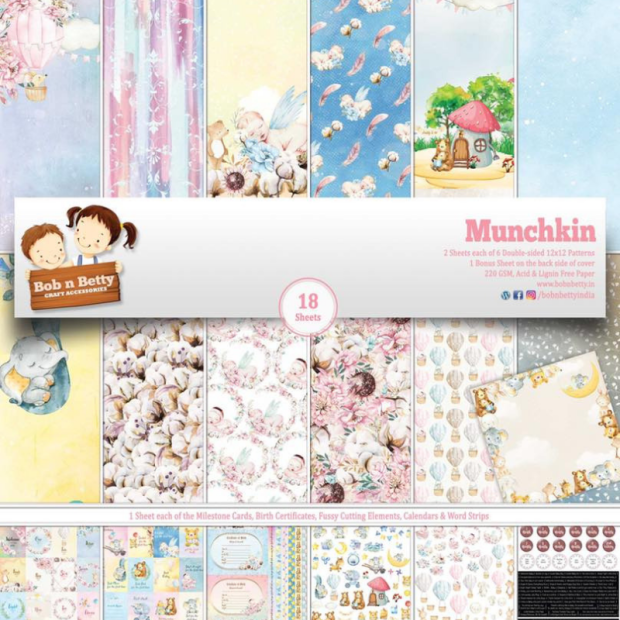
Here I am back on Bob n Betty blogspot with another amazing inspiration for you all with the newly launched paper collections “Munchkin”…

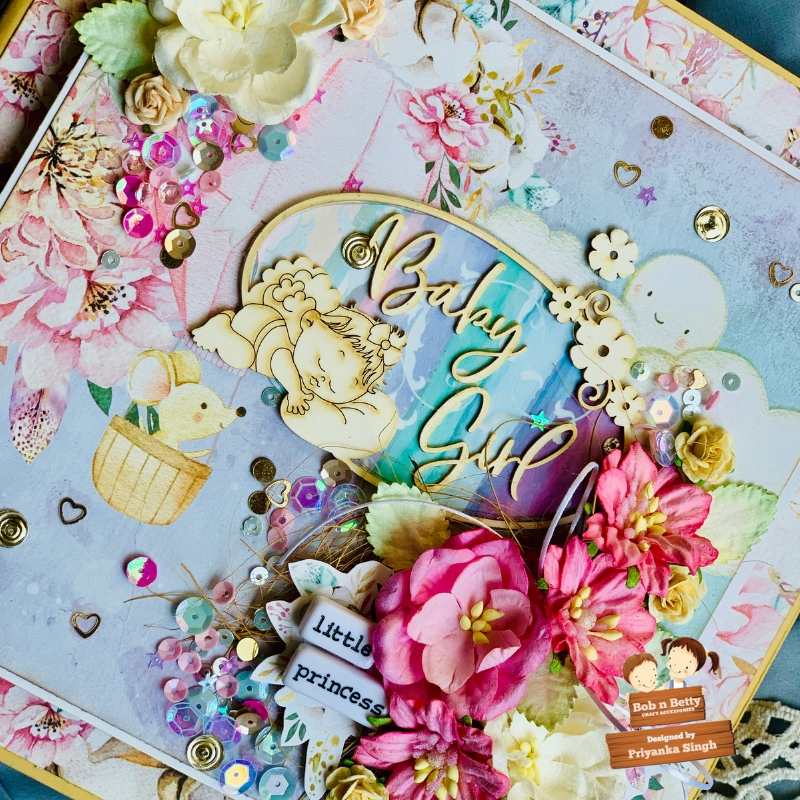
This time its a memory album for a baby girl “Little Princess”……As you all know this paper collection can be used for both baby girl as well as baby boy….I went ahead to create an inspiration with baby girl theme…This is how my cover page looks…with little arrangement of flowers to coordinate with florals within the collection itself…..
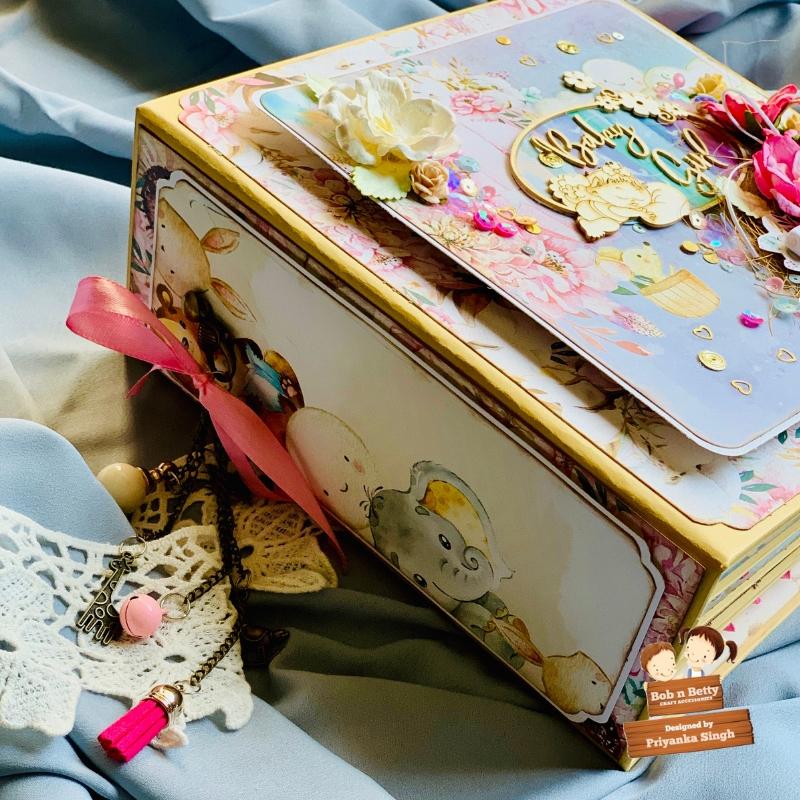
Here’s the hinge of the album with some metal charms and bells…. to adorn the whole layout…I am just loving everything about it….
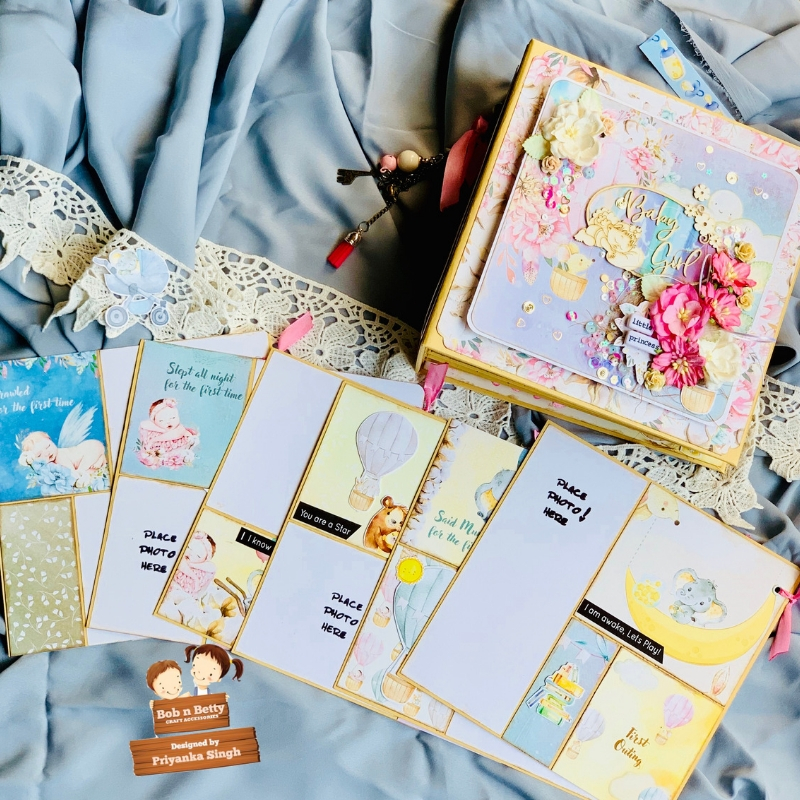
Let’s quickly have a sneak peek inside the album…..
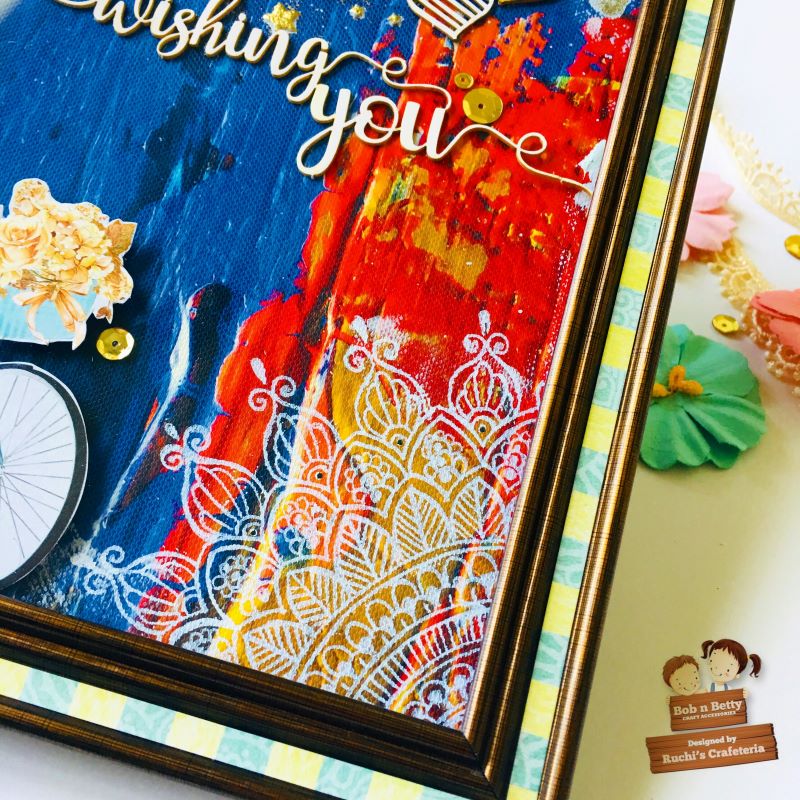
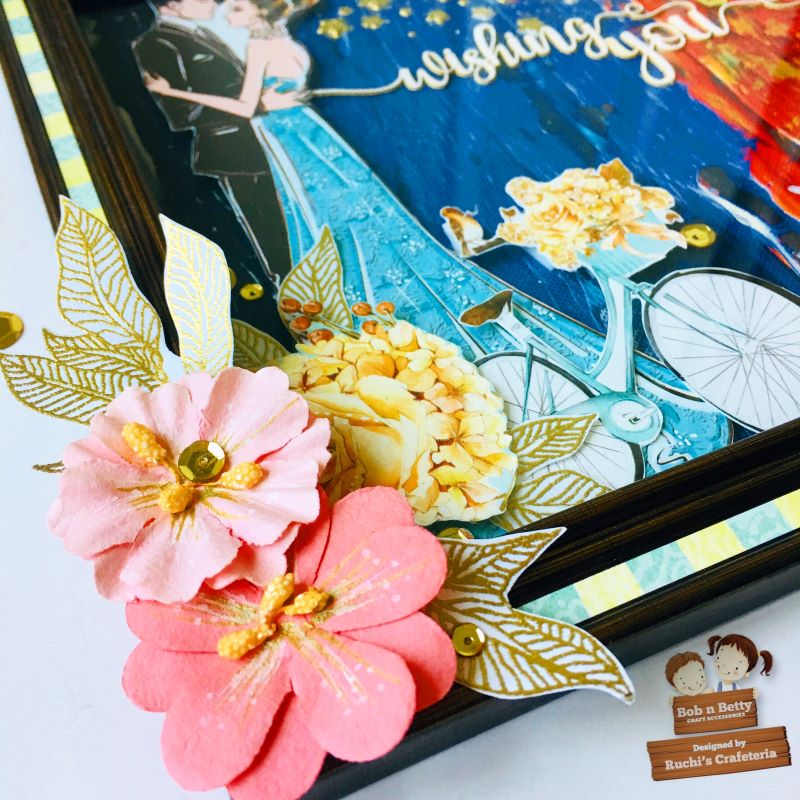
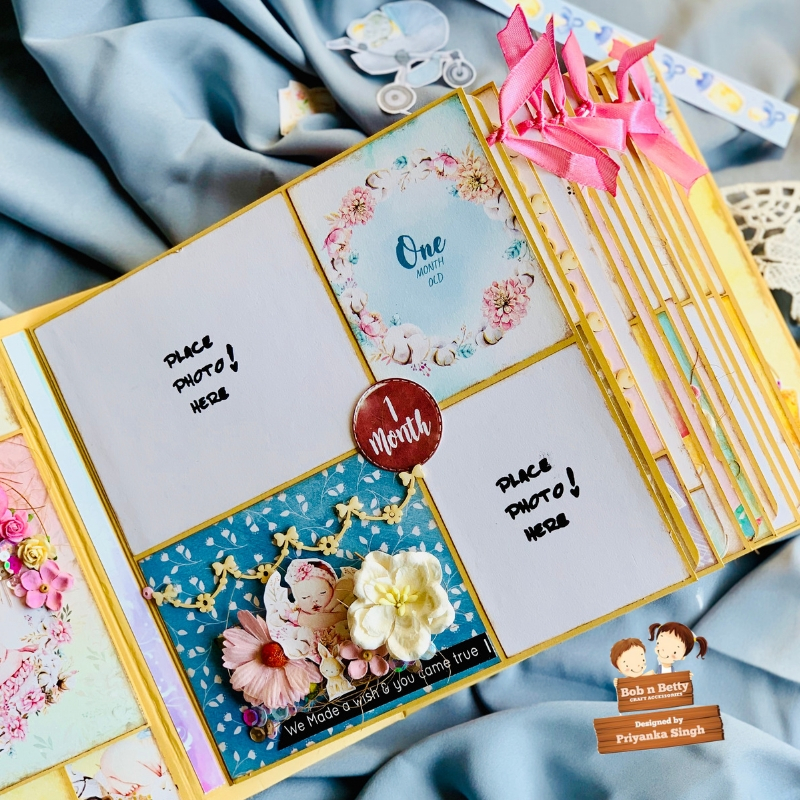
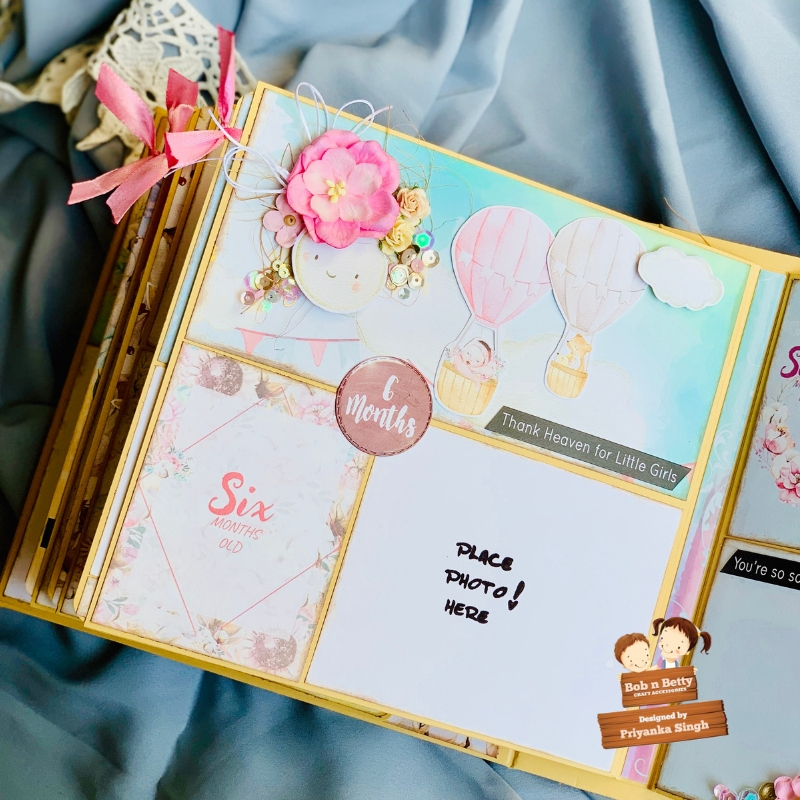
So talking about the inside pages…. I have tried my own way of doing just the photo mats and some cute layering with all those fuzzy cut elements within the pack along with flowers…and lots of sequins…around…
The very first page begins with welcoming the baby into this world…and that certificate of birth from the pack is just so hassle free to have it already…

The whole album covers all months from 0-12 as first birthday…as well as pull out pages for other milestones….this becomes an adorable way to make a memory book for your new born baby and look back at those memories anytime…
Here’s how the complete album comes out with all tags and cover page….


Hope you all enjoyed reading about inspiration project, will be back soon with some more amazing inspirations for u all to try and get inspired….
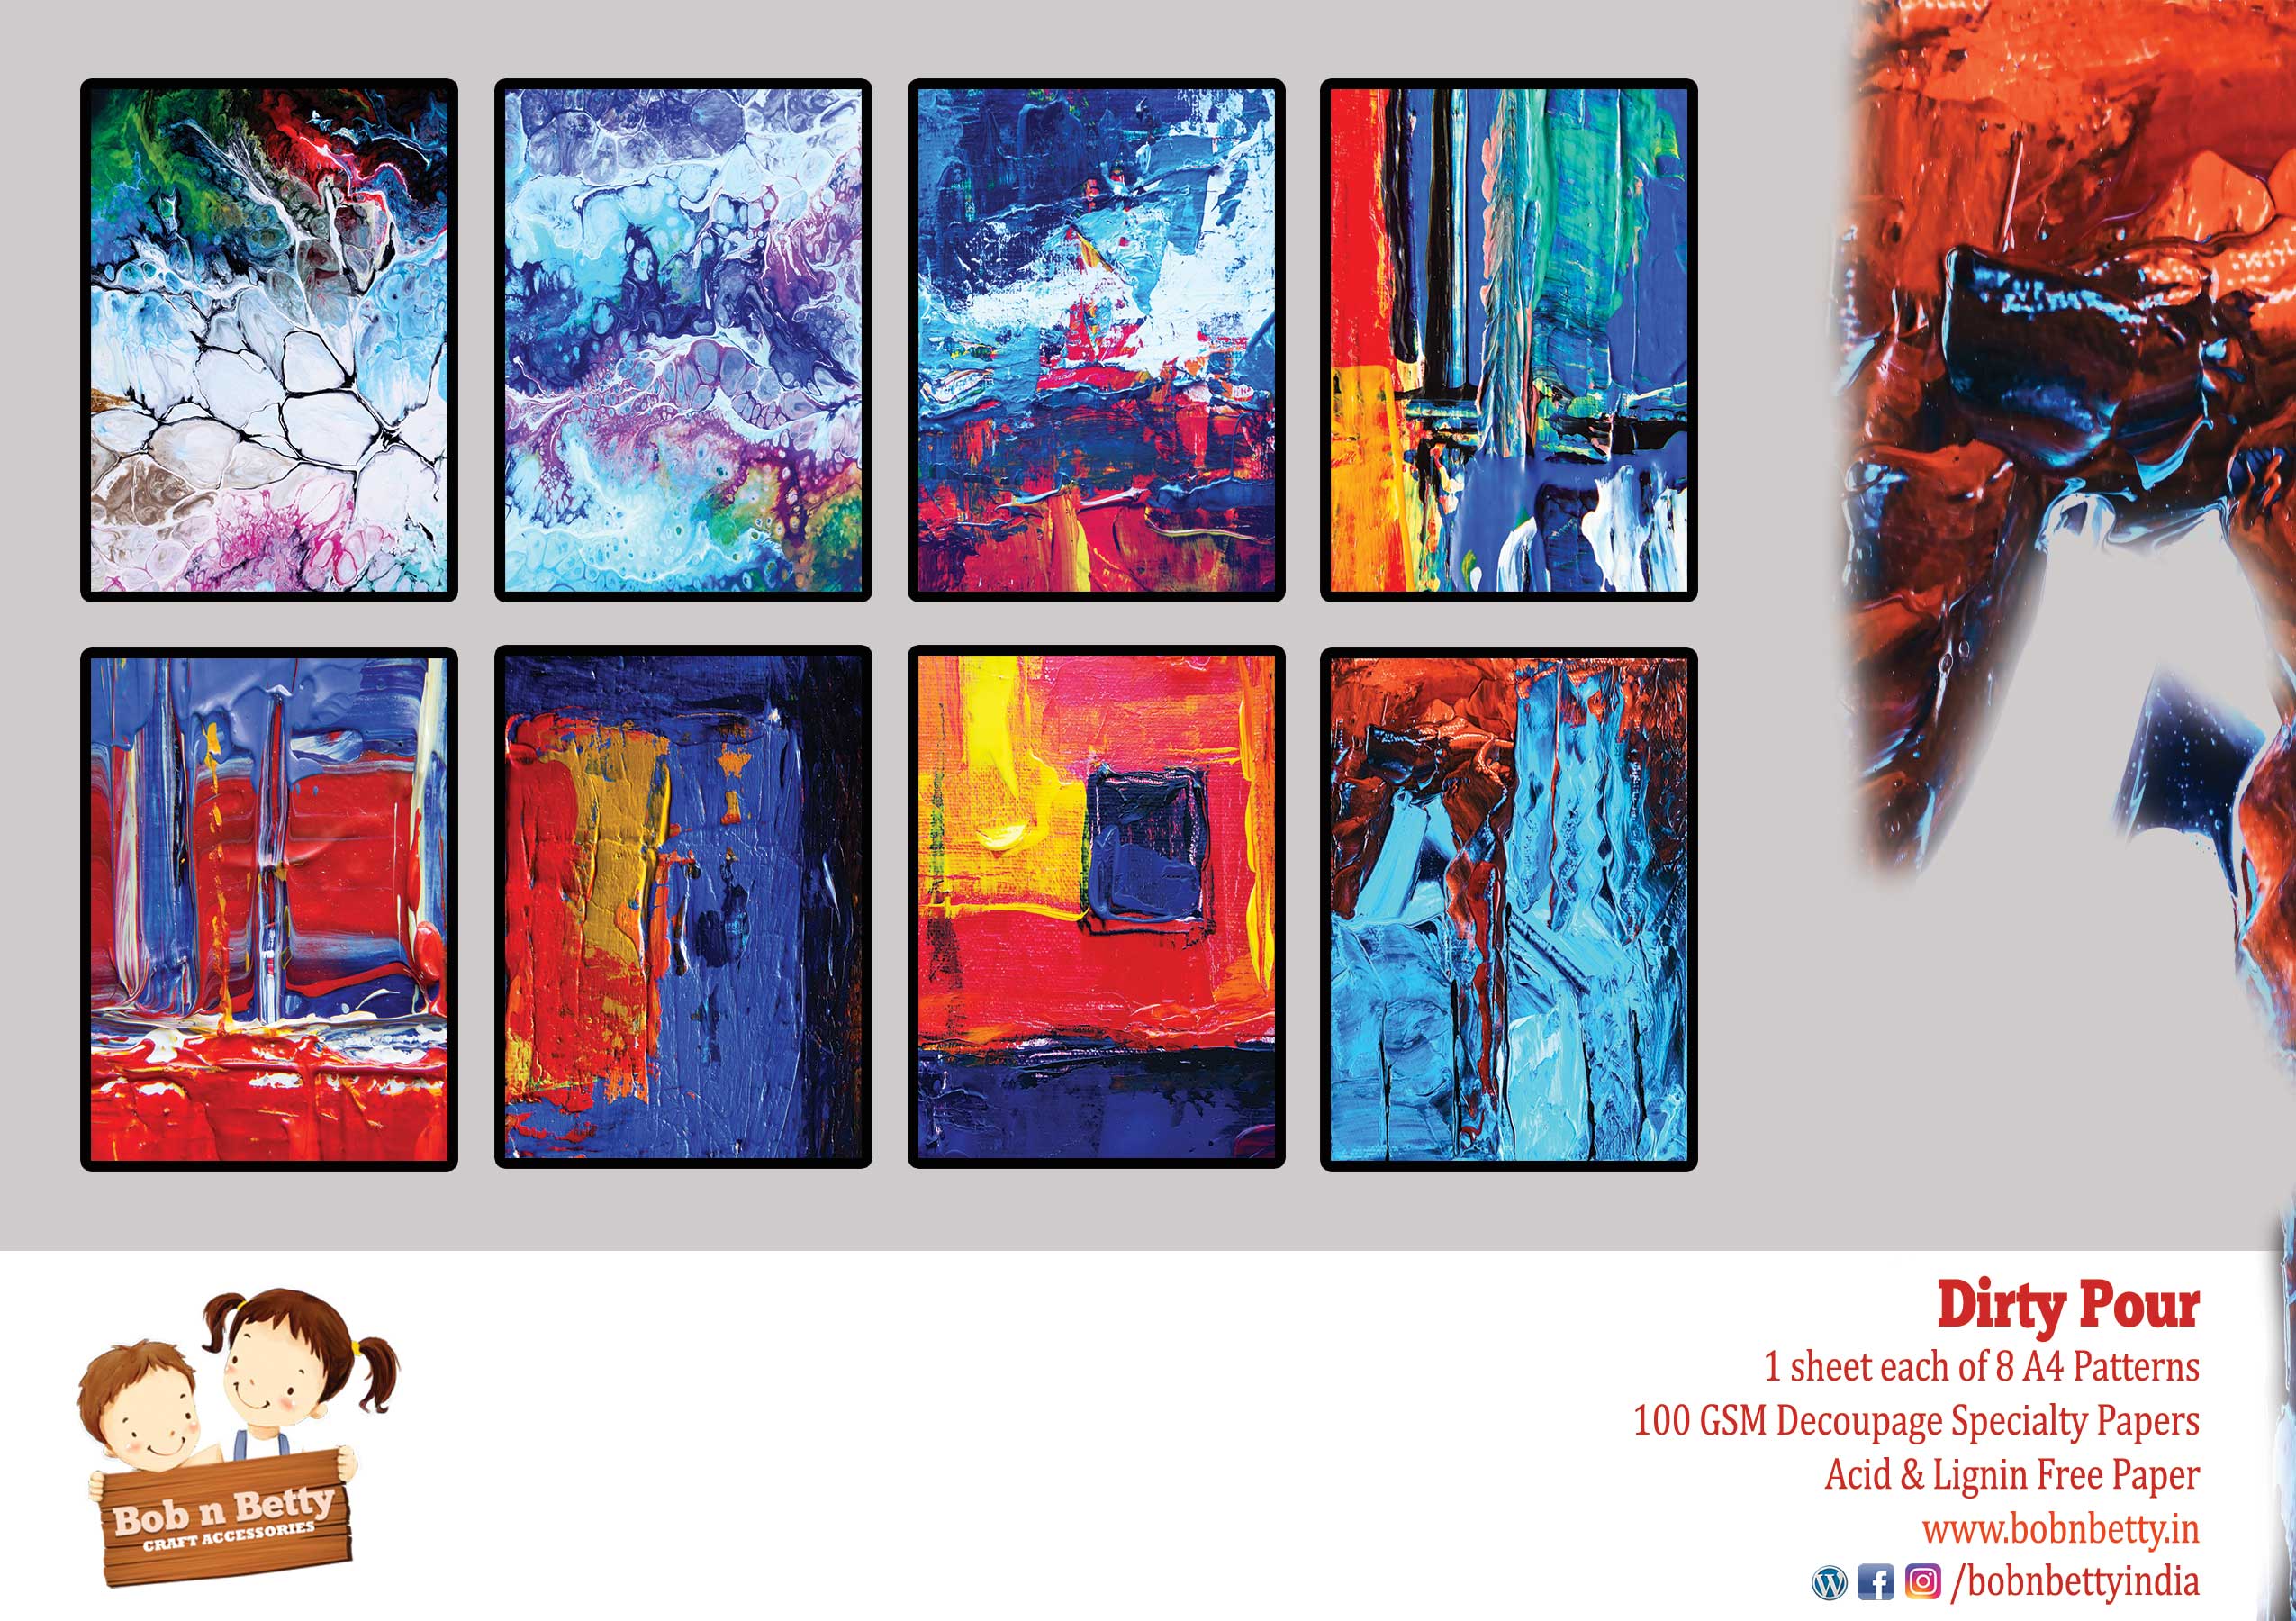
Paper Collection Used:

Much Love and Hugs
Priyanka